

Many students enter my classroom with misconceptions about fossils. Some think that they are actual bones, while others believe that the original organic material somehow magically turns into stone. As an introduction to the unit about fossil and sedimentary rock formation, I always like to use this quick activity to make sure my students have a firm grasp on this commonly confused terminology.
Disclosure: Sockmonkey Science is a participant in affiliate advertising programs designed to provide a means for sites to earn advertising fees by advertising and linking to company websites and products. Use my links to help support my work and family! Read more here.

What’s in the Lab?
Fossil Formation
Grade Level: 2nd-6th | Duration: 30-60 minutes | Content: Earth Science – Fossils, Imprints, Sedimentary Rock
Materials: Modeling clay or play-dough, a variety of objects to create imprints and molds (seashells, feathers, leaves, dollar store animal figures), rolling pin, plastic mats (or something to protect your tables), glue (optional)
Academic Vocabulary: fossil, imprint, sedimentary rock, sediment, minerals, decay, paleontologist. Advanced: trace fossil, mold and cast fossil, fossil record, minerals
Overview:
This is a simple activity that will provide clarity for your students about the relationships between sedimentary rock formation and fossils. After we review the academic vocabulary, I use this as a brief introductory lab on Mondays with my 5th graders. It can easily be adapted into a longer lab, and for lower and higher grades (especially with an expansion to discuss trace fossils vs mold and cast fossils).
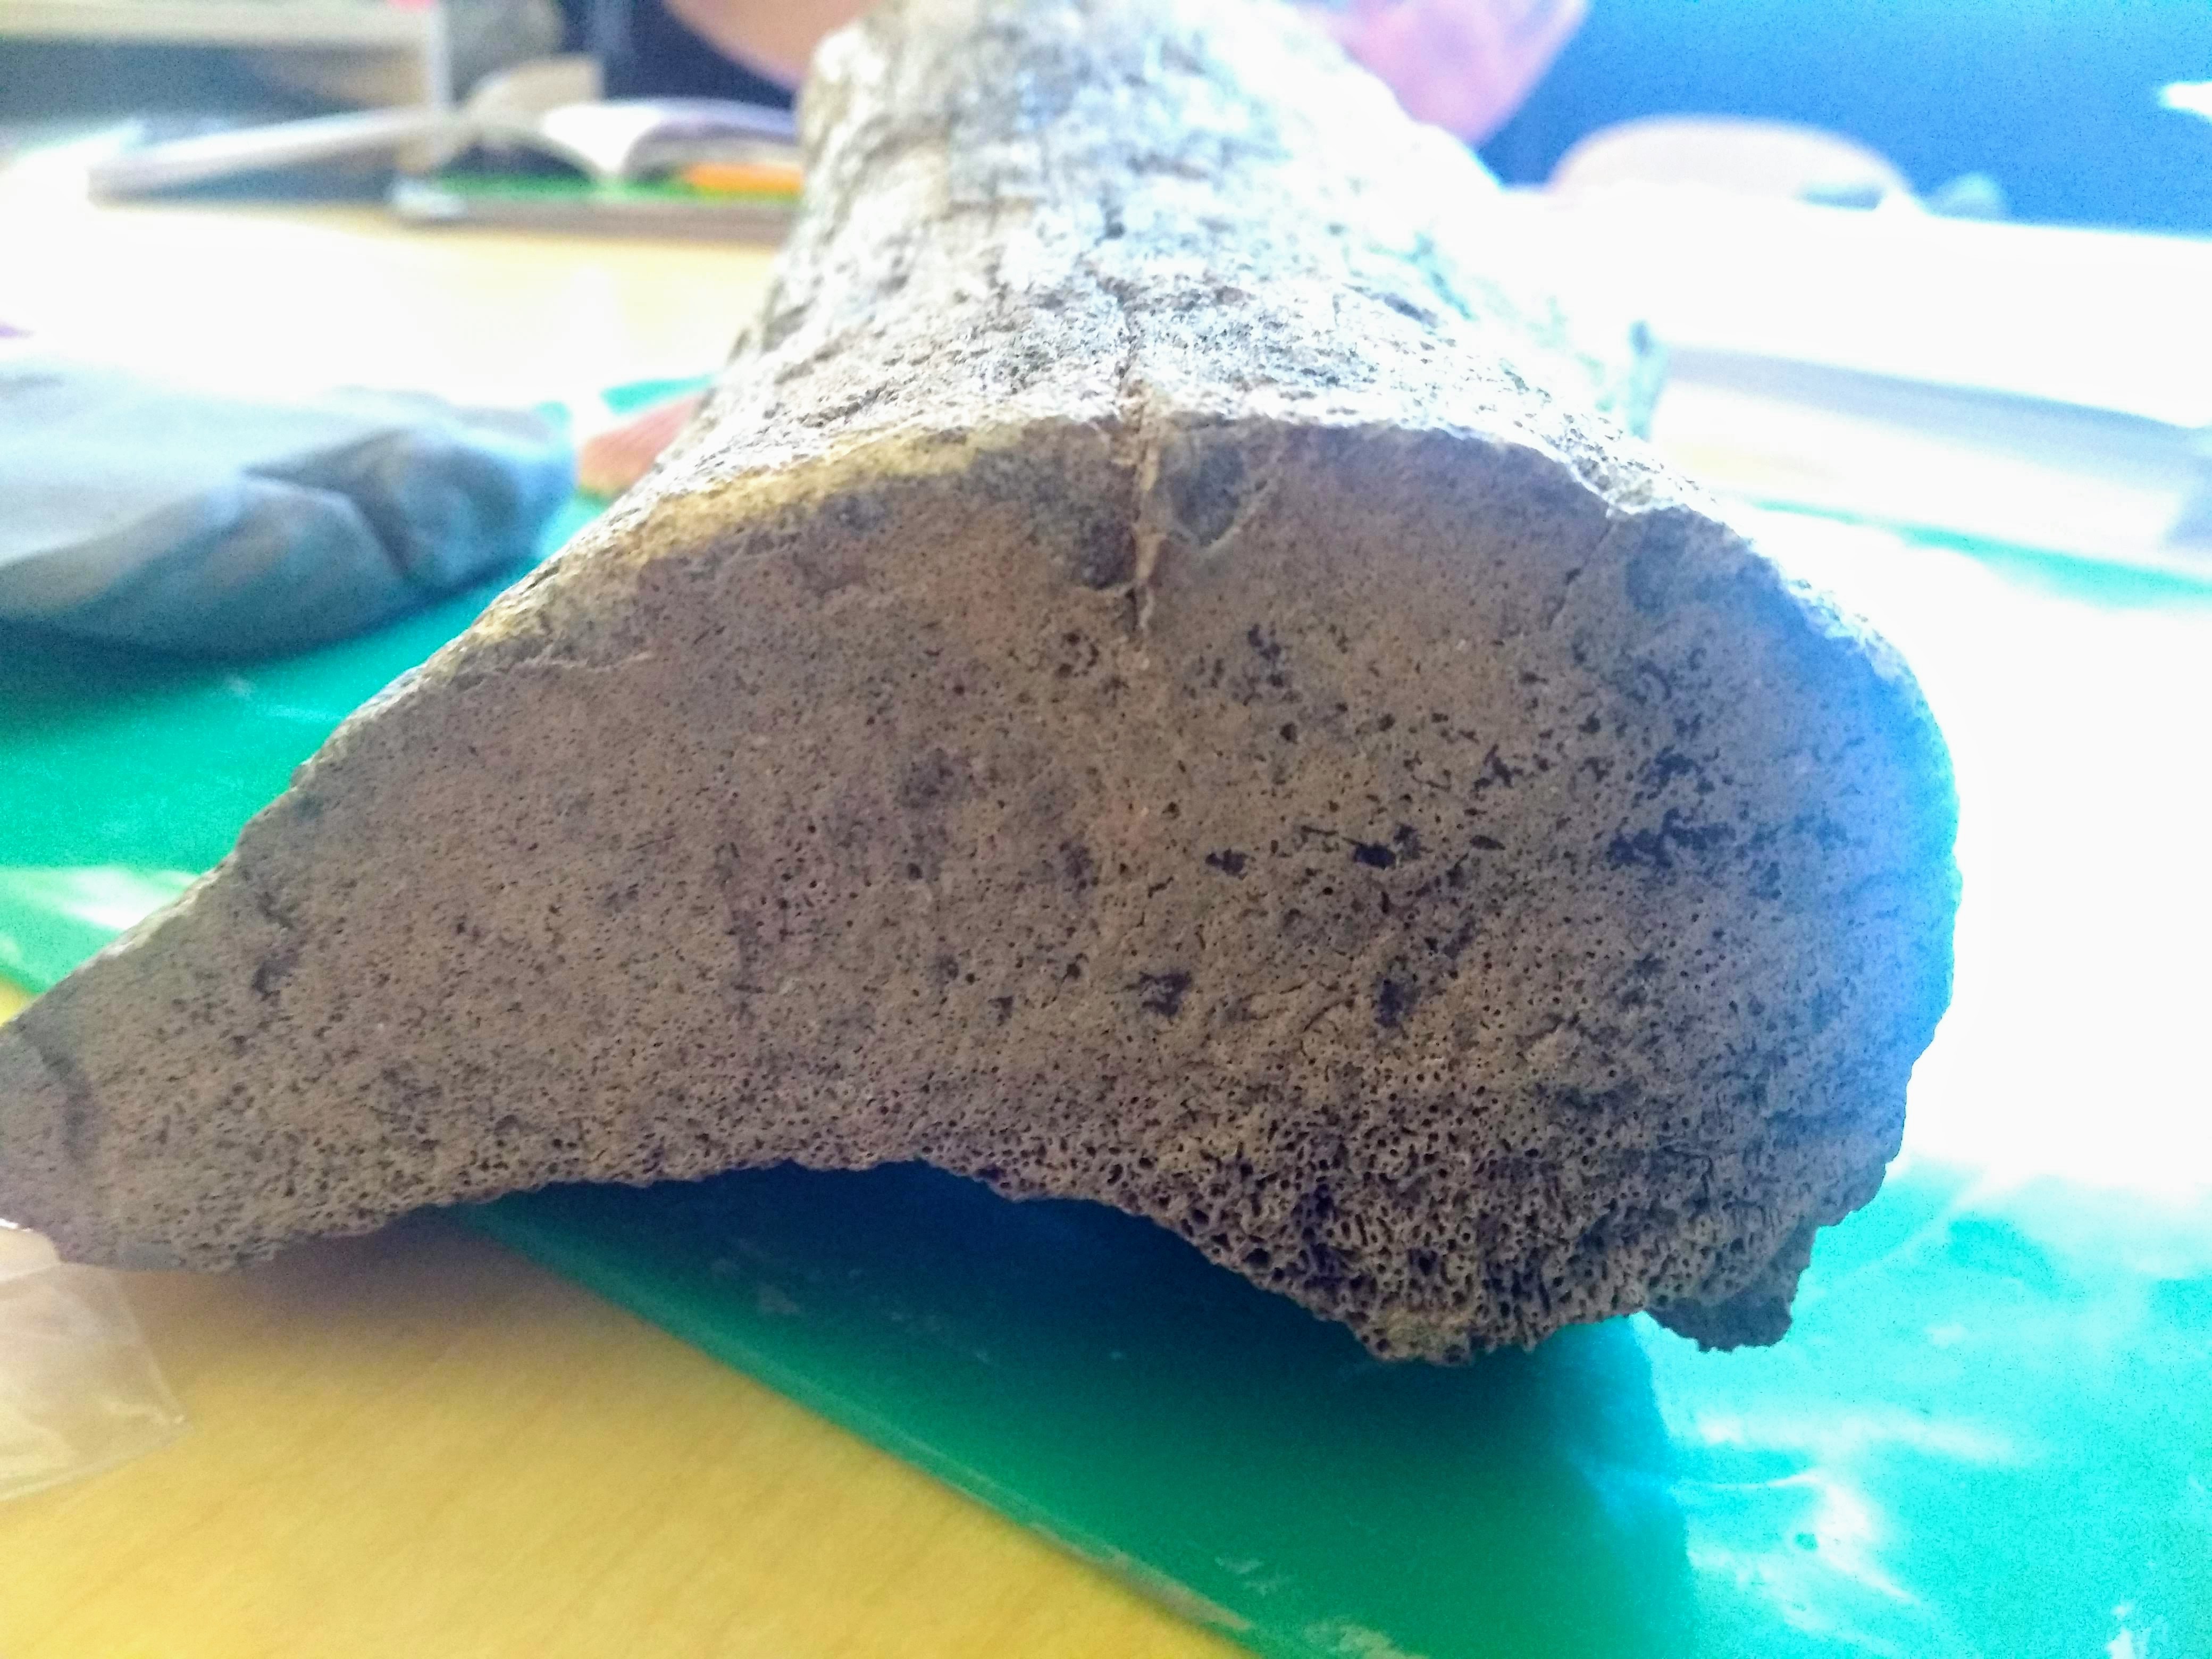
I start off with a piece of petrified wood, and let the group pass it around to make observations. Then I ask a simple question. What is this? Most students immediately respond with “wood”, or “tree”, but a few will answer stone or rock. After allowing for student response, we review the sedimentary rock formation process and discuss how fossils fit into the picture. If you are running short on time, you can try this 2 minute video about fossil formation!
I use real modeling clay for this. For many years, I would have students make these molds from plaster of paris. However, this was a time consuming process that often didn’t come out right if it wasn’t mixed properly.
Using clay has made it much more simple, and it’s a one time purchase you can use for years to come. Play-dough is always an option if your budget is running thin, but you get better results with clay and can also go on to make a cast fossil with glue if time permits.
Give students each a fist sized ball of modeling clay and instruct them to half it. Then have them flatten the pieces a bit, but not too much. Make sure you are protecting the table with something (even just sheets of paper for them to work on). I love these plastic mats. I use them for almost everything we do!
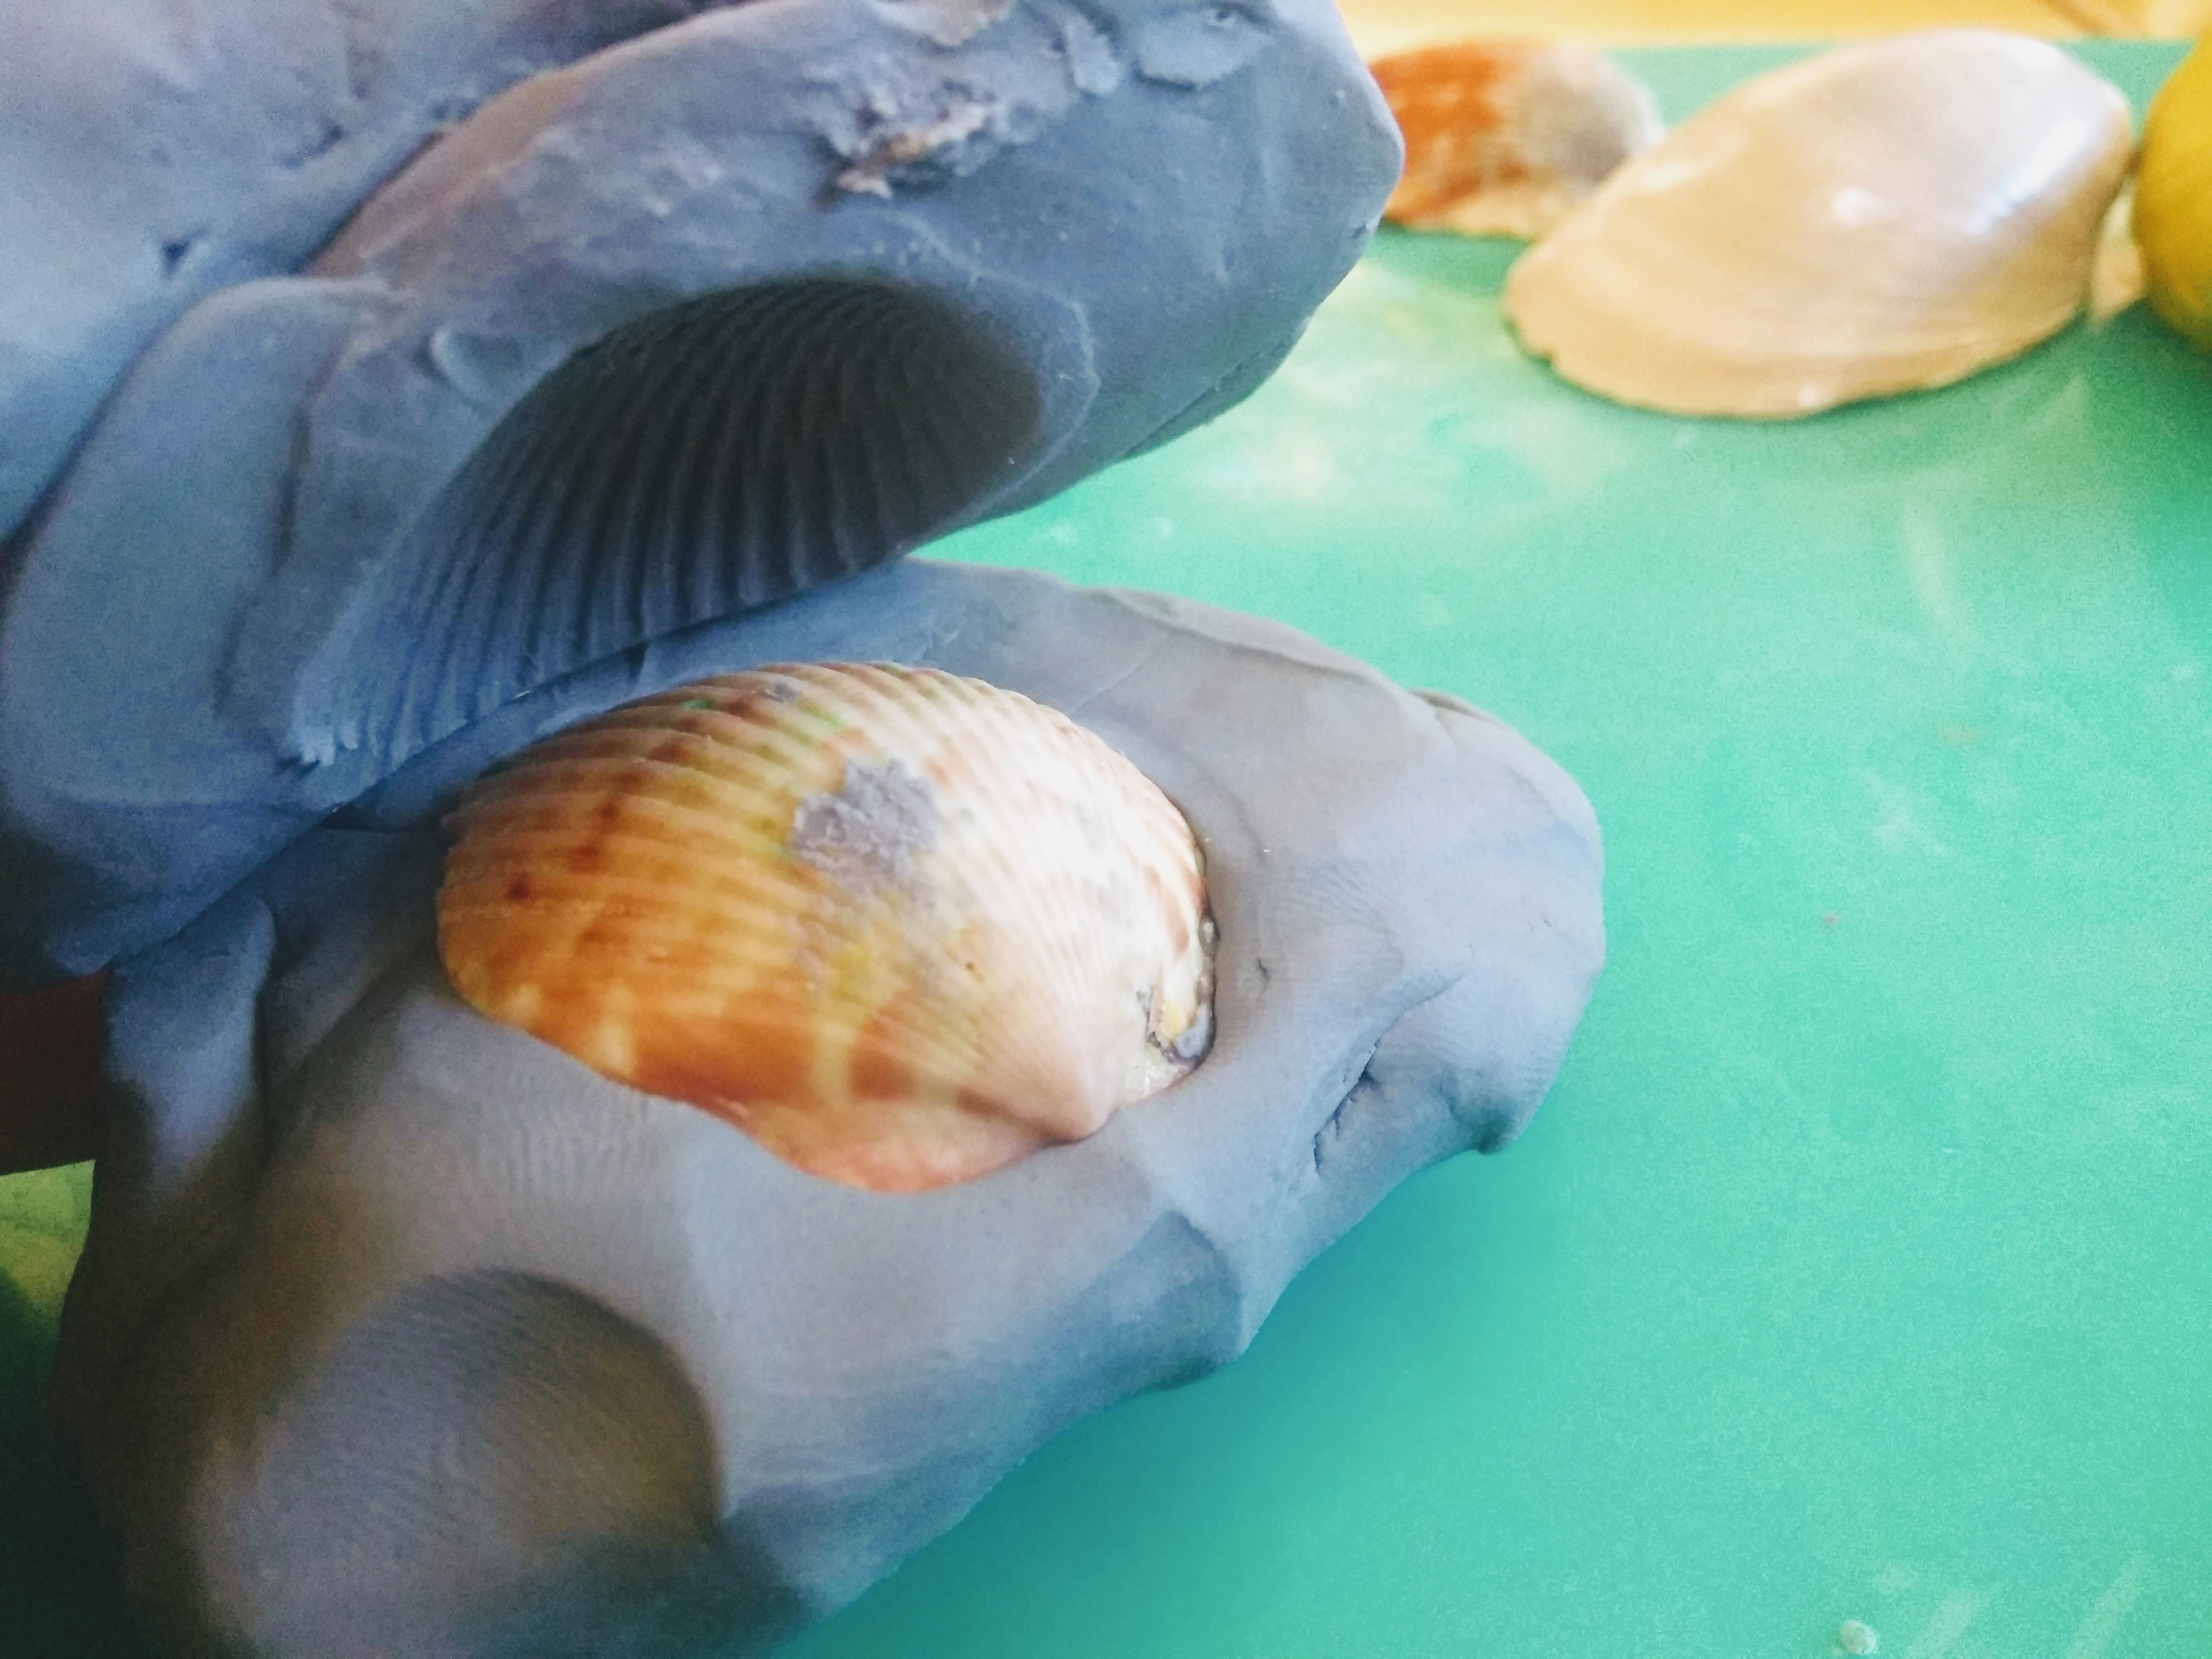
While students are doing this, I give a brief demo of the process with my own fancy shell and tell them the SUPER DRAMATIC story of the sad little creature who died and left it behind. I intertwine the story with the vocabulary, relating how the shell sank to the bottom of the ocean and was covered by more and more layers of sediment as the years passed. Eventually the shell decayed and left behind an imprint, which was filled with minerals and water to create a fossil.
Next, give them each a shell of their own and direct them to place it on one half of their clay. Now they will place the other half of their clay on top and compress it together with the palms of their hands.

Allow them to carefully pry the two pieces apart and remove the shell. A mold of the shell should be left behind in the clay. At this point, I always have students put the two pieces together like a clam shell and ask them to visualize the mineral water seeping into the space. I point out that liquids take the shape of their container, and that when the liquid eventually hardens inside this three dimensional mold, a fossil forms.
I also let them make a feather imprint with the rolling pin to introduce them to the concept of trace fossils. When we have extra time, we make molds of any interesting objects we have hanging around. The students love working with the clay, so it is easy to stretch this lab out if you need to.


Extension:
If time permits, you may also have the students fill their mold with glue and allow it two dry overnight to create your very own cast fossils!
Reflection Question Examples:
What does the clay represent?
What happened when you pushed the two pieces of clay together?
How are fossil and sedimentary rock formation related?
I use this as a short activity, so to wrap things up I just have them answer three questions about the lab in their journal. You can also have them sketch their fossil mold.
Do you have a favorite fossil lab? Let me know in the comments below
NEXT:Check out Pasta Rocks!
Don’t forget to find me on TPT, Facebook, Instagram, and Pinterest, then subscribe by email for your FREE science borders and bonus surprise freebies!
