

My budget has been somewhat limited (non-existent) this year, forcing me to get a bit more creative than usual. As with all things, I simply took it is a challenge to push myself and my students a little further.
This week, using leftover lab materials from years past (plus about $15 worth of Dollar Tree crafting supplies, jello and candy), my 6th grade class created 3-D Paper Plate Eukaryotic Cells AND Jello Cell Models! I must say I am impressed with my students’ ingenuity and enthusiasm with these two projects.
We started the week with a review of prokaryotic and eukaryotic cells, then illustrated and labeled an animal cell diagram. On Tuesday, I broke the 6th graders up into expert groups and assigned each team an organelle to research and later teach to their classmates.
On Wednesday, we used all of this background information and their diagrams to begin building our Paper Cell Models, and then used the same procedures to assemble our Jello Cells on Thursday.
I was apprehensive at first to attempt TWO messy, crafty activities back to back, but I think it provided necessary reinforcement for this completely new (to them) 6th grade concept. Plus, doing the Paper Plate cell first set us up for success with the main event…the Jello Cell.
Did I mention the students had a BLAST?
ExCELLent Eukaryotic Cell Models
Grade Level: 6th-10th | Duration: 90 minutes (each) | Content: Life Science – Animal Cells, Organelles, Eukaryotes
Academic Vocabulary: prokaryotic, eukaryotic, cell, organelle, nucleus, golgi apparatus, endoplasmic reticulum, mitochondria, ribosomes, lysosomes, vacuoles, cytoplasm, cytoskeleton
The Paper Plate Cell Model

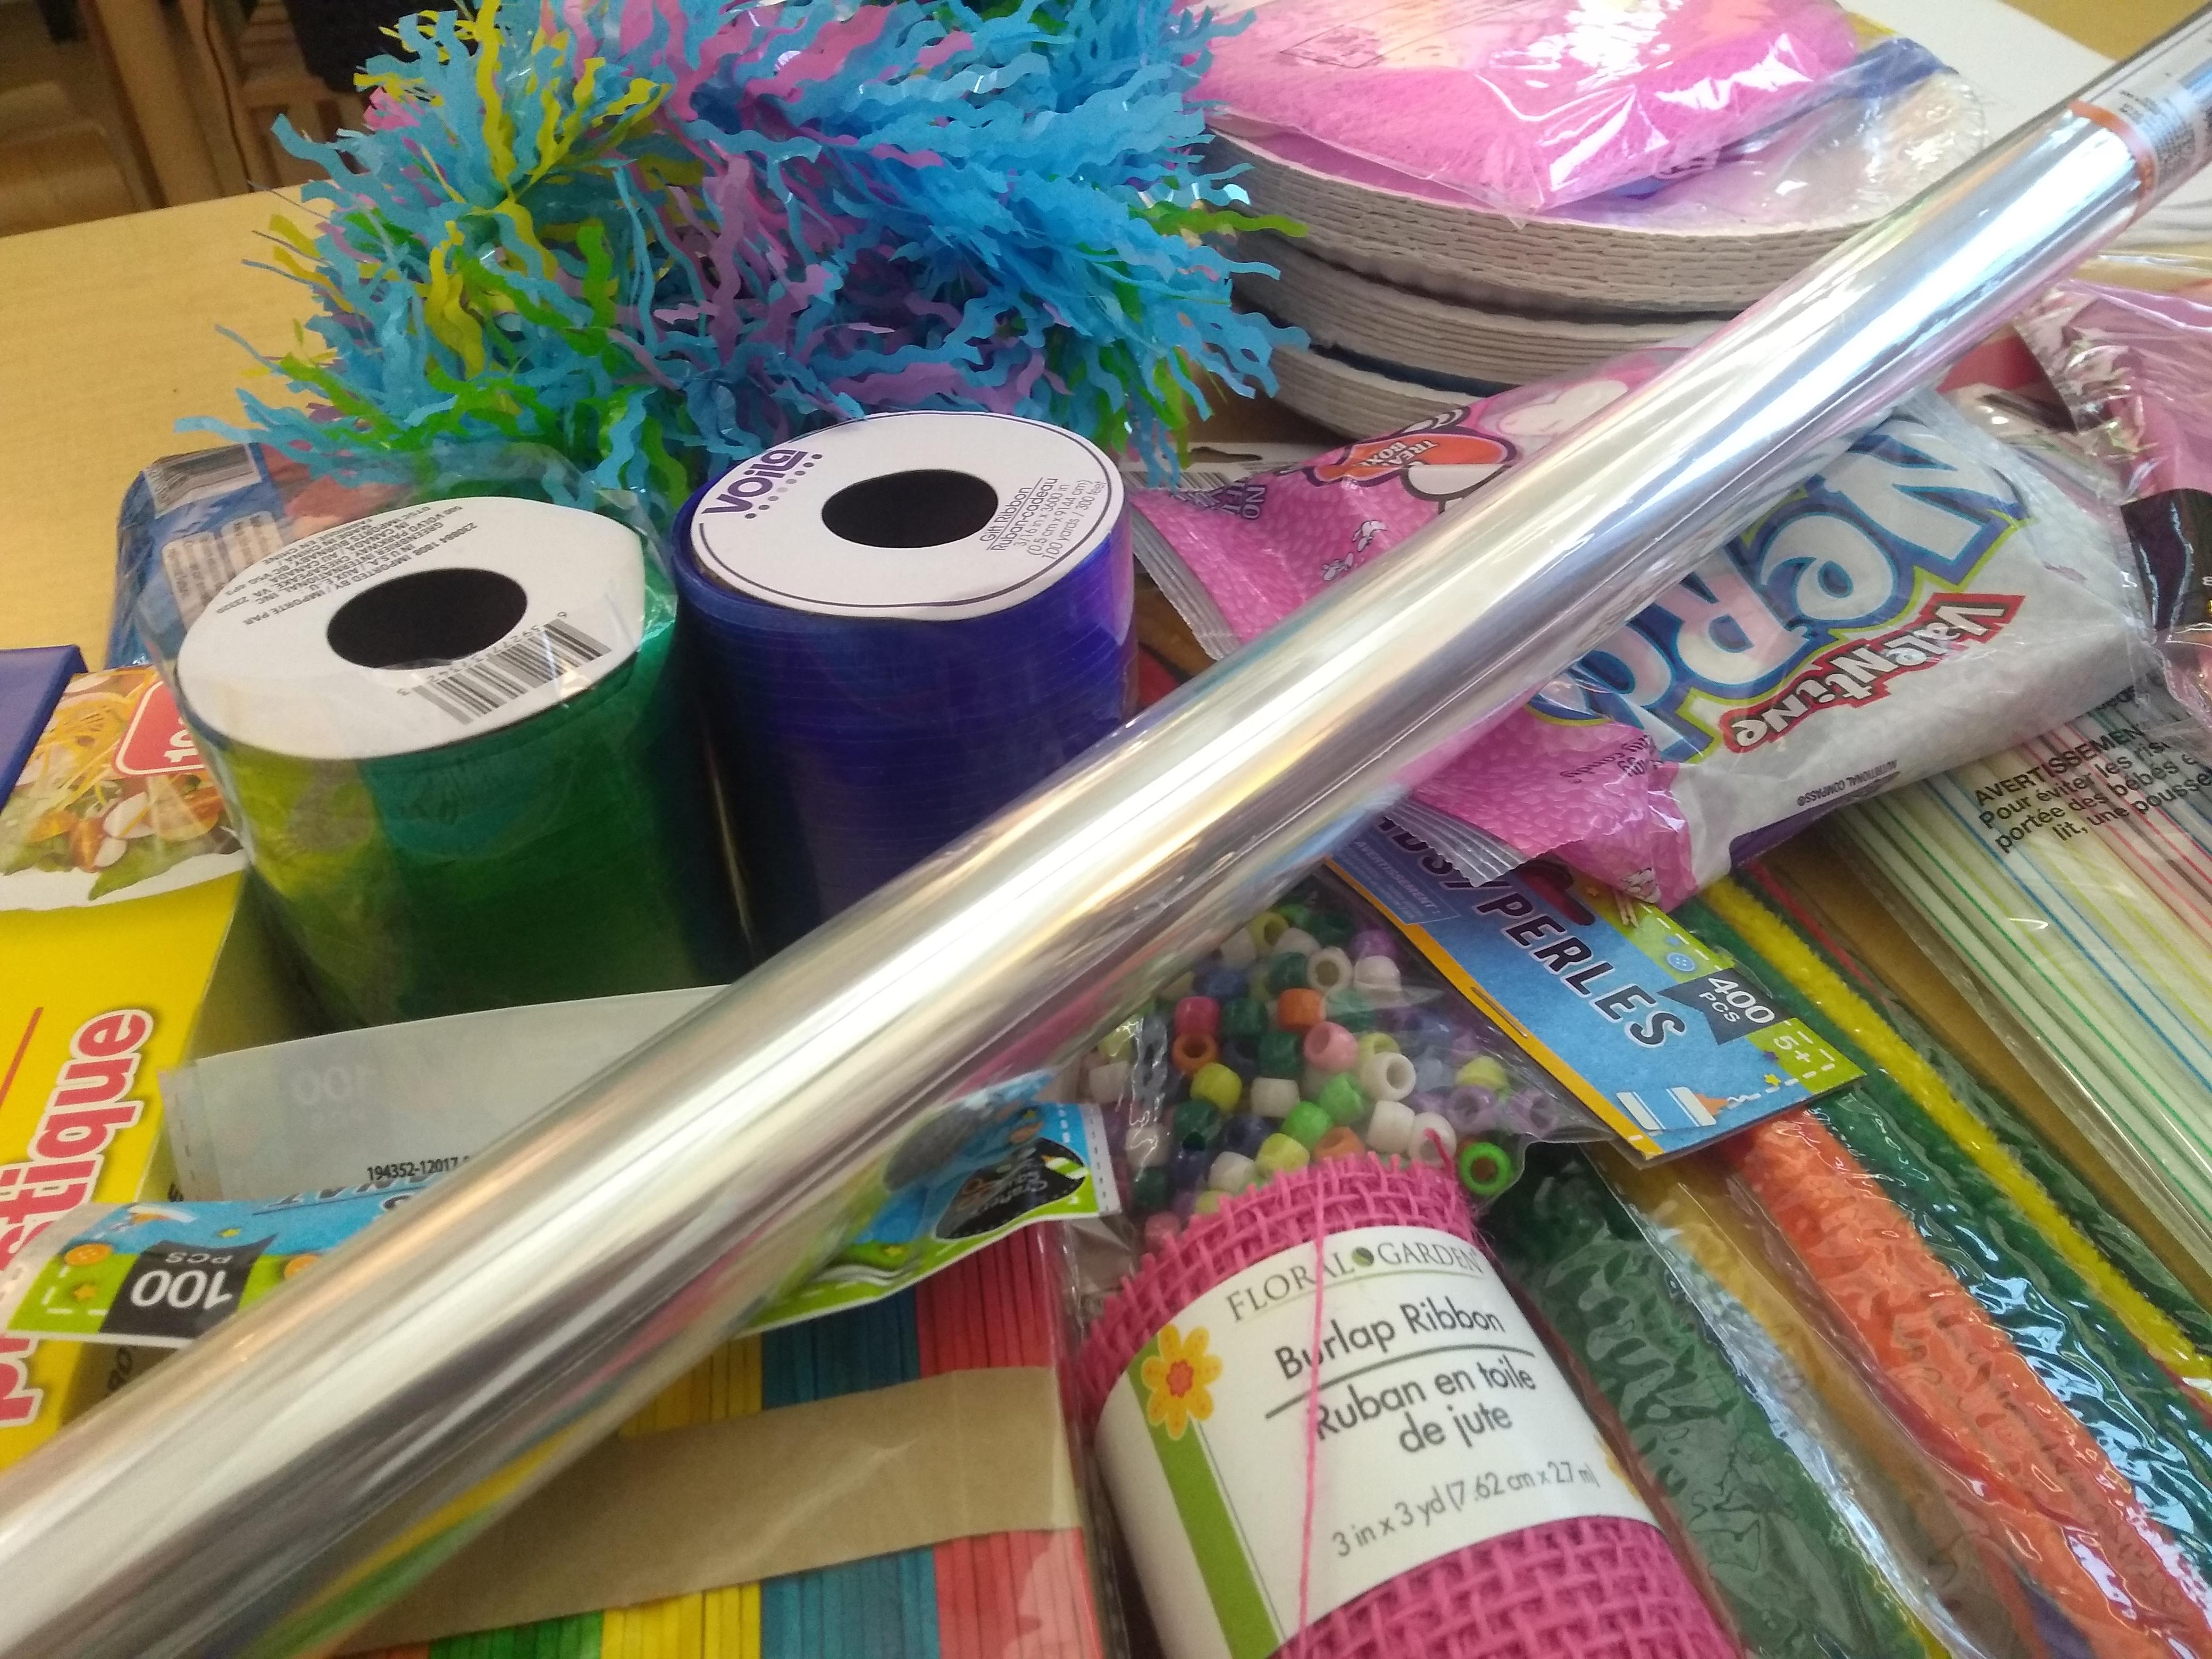
Materials: (2) Paper Plates per student, tape or glue, scissors, plastic wrap or cello paper, (2) balloons per student, pipe cleaners, straws, beads, confetti, copy paper, ribbon. Optional: nerds, popsicle sticks, garland/tinsel.
If you really want the cells to pop, these two dollar store supplies took the project next level…vinyl dollar store table cloth to cover the back of the plate (pink and red) and gift basket dollar store mesh or burlap ribbon to use for cytoplasm/ribosomes OR to cover the front of the cell. You can also save mesh produce bags (like for oranges) if you plan ahead far enough.

Procedure Overview:
Before we started crafting our Paper Plate Cells, I had students copy a list of organelles into their science journals. I included nucleus, endoplasmic reticulum, Golgi body, mitochondria, cytoskeleton, cytoplasm, ribosomes, and lysosomes.
Either of these two projects can easily be modified for higher grade levels with the addition of advanced structures, or simplified structures for lower grade levels.
Next, I showed the students what materials would be available to create their cells models. In their journals, I had them brainstorm what materials they wanted to use for each organelle and why. Once they had a completed list, they could come up and get their supplies.
Model Creation:
- Cut a circle out of one plate. Cover the opening with plastic wrap or cello paper from the inside to create a viewing window. Put this plate aside until later.
- Use the other plate to begin building the cell model. Glue or tape the “organelles” into the model. Students may also use additional plastic wrap to represent the cytoplasm.
- Create labels or write organelle names directly onto plate.
- Place the other plate with the cut window over the finished model and attach with tape

After my students were finished, I attached string and hung them around the classroom!
Here is the project rubric (free). The full project instructions and student worksheet is here!
The Jello Cell Model

Materials:
- (8) 6 oz boxes of yellow, orange, or green gelatin per 20 students
- Hot/boiling water to mix gelatin
- 1 quart or sandwich size plastic bag per student
- Assorted dollar store dried fruits and candies to represent organelles (I used apricots, raisins, pineapple, big marshmellows, round and chocolate sprinkles, sunflower seeds, Sweet Tarts, sour strings, and Twizzler Bites)
Teacher Prep: Mix gelatin and boiling water in advance. I recommend pre-portioning the jello in 1/2 cup-3/4 cup portions in the plastic bags to save time, and refrigerate approximately 30 minutes to an hour before class.
I also put together a make shift “menu” to show on the document camera so the students could easily see their material choices.

Procedure Overview:
For obvious reasons, this activity was a bit less structured than the Paper Plate Cell Model.
Again, I had students copy the list of organelles into their science journals to prepare them to select materials. As they did this, I sent a student to refrigerator to pick up the gelatin bags.
When students completed their list and reasoning for their choices, they came and picked up the jello bag and materials for their nucleus ONLY.
After adding the “nucleus” into the center of the jello, students wrote their names on the bags and I returned them to the fridge for about 30 more minutes to firm up a little more before completing the model. This made placement of the organelles go more smoothly.

Once the students had completed their Jello model, they were required to verbally describe the different organelles and structures to receive a spoon to eat their creation. Don’t forget to ask them about the cell membrane!
You can find the simple instructions I based this on here towards the bottom under “Crafts” from BioEyes.
Do you have a life science activity your students absolutely love? Let me know in the comments!
NEXT: Find out how to become a science vocabulary boss!
Looking for more lab day fun? Check out this great Baking Soda and Vinegar Car.
Don’t forget to find me on TPT, Facebook, Instagram, and Pinterest, then subscribe by email for your FREE science borders and bonus surprise freebies!

What a fantastic project for the kids. I am sending this article to a teacher friend of mine to see if she would like to do this also.
LikeLiked by 1 person
This is fascinating! I never got a chance to do anything like this when I was in high school. We did learn about cells and nuclei and stuff like that, but we never got to make our own. We DID however get to eat 4 layer Jell-O when we learned about the different layers of the Earth, so there’s that. These look great!
LikeLiked by 1 person
These are both such amazing ideas! Learning the parts of the cell are so important, but it is definitely a complex concept the first time you are exposed to it. I can imagine that the students were feeling very confident with this material by the end of these activities!
LikeLiked by 1 person
I love it, very creative! I like how you structured the activities enough to allow for planned learning, but left so much open to the creative minds of your students.
LikeLiked by 1 person
I love reading about how you teach. I’m sure the kids learn and remember because they had fun. And learning should be fun, shouldn’t it. I think I’d like to go back in time and be in your classroom.
LikeLiked by 1 person
This is amazing! I don’t remember getting to do these kinds of hands on projects when I was in middle school. I know that my kids always get so much more out of a school project when they are given a hands on task to learn from. I love how creative this project is! Awesome job!
LikeLiked by 1 person
Your students will never forget that lesson, and hopefully the parts of the cell will stick with them too. What would teachers do without the dollar store?
LikeLiked by 1 person
This would be a lot of fun to do with my kids! Thanks for sharing this with us. Educational crafts are the bet.
LikeLiked by 1 person
Wow!!! Just loved your post and your creativity. This is such a amazing way of teaching science to kids. Really impressive educational tools and I appreciate the hard work you have put into it!
LikeLiked by 1 person
What a great project I know a couple teachers who can use this article. Thanks for posting!
LikeLiked by 1 person
I think I would have been a much bigger fan of science as a kid if we did fun, engaging, learning activities like this. How cool, and I bet the kids will remember the concepts discussed!
LikeLiked by 1 person
Two wonderful projects.Creativity at its best.
LikeLiked by 1 person
I just wish you were my teacher !!! science was so boring in my times, I don’t even remember anything about it, what you do its amazing congrats!! and lucky for your students
LikeLiked by 1 person
This is such a cool project! I don’t teach science, but now, I kind of wish I did.
LikeLiked by 1 person
How fun! I’m always looking for new science projects for my kids! Thanks!
LikeLiked by 1 person
Love! I was a teacher and ran a Montessori school (elementary and middle) for years. These types of lessons and projects are totally where the kids would engage and SHINE!
LikeLike
These look like so much fun. I am sure they must have enjoyed it.
LikeLiked by 1 person